To ensure the manufacture of consistently high-quality, high-performance glass components and products, it’s critical to utilize optical specifications. These are useful in two ways: First, they establish an acceptable standard by which a glass surface must perform; second, they can help determine the amount of time, money, and labor that should be spent on the manufacturing process.
Also make sure the tolerance specifications for your project are just right. For example, if your tolerances are underspecified for a project that requires microscopic precision, the glass component may not be able to perform key tasks. If the tolerances are overspecified, this can needlessly raise the cost of production per unit or overcomplicate the entire project.
In this guide, we’ll discuss the specifications that determine the production of optical glass parts, how to look for the right specifications, and how tight tolerances should be in different circumstances.
Specifications
Specialty glass such as optical components requires precisely detailed specifications so that fabricators can create parts that perform to exacting standards, with little room for error. A skilled optical glass fabricator can customize the following properties to achieve certain specifications and tolerances.
Surface Quality
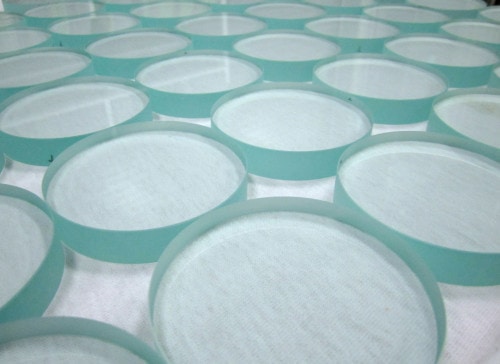
 Surface quality, or surface roughness, refers to how much an optical glass surface deviates from an ideal. Poor surface quality can cause unwanted light scattering in applications that require particular system wavelengths. Scratch-dig specifications—defined as the presence of scratches, bubbles, or pits—should be about 40-20 in most optical applications. At the same time, it’s important to understand the full context of the application to avoid overspecification and the added costs associated with it.
The requirements for surface quality are as varied as the applications for glass surfaces. For instance, in industrial settings, the bar set for surface quality is not as high as it would be for work with lasers. Surface quality refers solely to the cosmetic quality of a glass surface — whether it has any marks, divots, scratches, and so on. While such imperfections may not necessarily impact performance, it’s still important to consider how long-term effects, such as general wear and tear, may impact the appearance and overall quality of the glass.
Surface quality is reflected by two numbers: the scratch number, which is determined by comparing scratches on a surface to a set of standard scratches under controlled lighting conditions, and the dig number, which is calculated at the diameter of the dig in microns divided by 10. For example, 60-40 reflects precision quality, and is a common surface quality value in research and industrial sectors. The lower the number, the higher the quality of the product. Industries and applications working with lasers aim for a higher standard of 10-5.
MIL-O-13830A and MIL-O-13830B standards are the most commonly applied for surface quality, but there’s also a more complex standard, ISO 10110, which allows designers some level of control and eliminates much of the guesswork for inspectors.
Surface Flatness
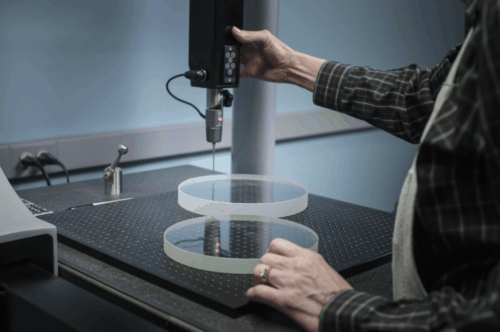
Surface flatness is the measure of how flat a surface is; this test is critical for glass products such as windows, mirrors, and plano-lens. The surface flatness test accounts for surface deviations such as ripples, bows, and other imperfections, which are measured in waves — the multiple of the wavelength from the reference surface. In this case, the higher the digit, the more precise the product. To determine surface flatness, the surface being tested is compared to a high-quality, highly precise flat reference product — referred to as an optical flat — and examined for deviations by comparing the two surfaces.
To compare the surface, the optical surface at hand is placed against the optical flat. When they are placed against each other, fringes — more specifically, “Newton’s fringes” — will appear, and the shape of these fringes will determine the flatness. Evenly spaced, straight, and parallel fringes indicate that the surface being tested is at least as flat as the optical flat. Curved fringes indicate subpar glass flatness.
Having the correct surface flatness reduces the risk of scattering light that can obfuscate results or create low-quality outcomes. However, over prioritizing an exact surface flatness can increase production costs and lengthen timelines. Carefully balance the importance of the surface flatness specification with your end use component needs, budget and turnaround requirements.
Power
This specification applies to curved optical surfaces — surfaces with power — and is tested similarly to flatness; the curved surface is stacked against a reference surface, a highly calibrated reference gauge. The air gaps created by the interference provide information on the deviation between the surfaces of the test model and the reference model. The deviations create a series of rings, referred to as Newton’s rings. The more there are, the more pronounced the deviation from the reference model.
Depending on the optical glass fabricator and intended end use, a wide array of tolerances can be possible. For general-purpose goods, a radius of curvature within 0.5% is sufficient. More precise applications may require radii with 0.1%, while some niche fabricators may offer tolerances of 0.01% for highly specialized applications.
Irregularity
The irregularity specification is used to describe the deviation of a test surface’s shape from the shape of its corresponding reference surface. The measurement is obtained using the same test conducted for power, but this test focuses on the sphericity of the circular fringes, which are determined by comparing the test and reference surfaces. Still, irregularity is often described as a ratio to power. For example, if the power of a surface is more than five fringes, detecting smaller irregularities (less than one fringe) is often difficult; therefore, the irregularity is reflected through this ratio of power to irregularity. In this particular example, the ratio would be 5:1.
When components deviate from the exact dimensions and surface qualities of the reference model, the optical glass can produce varying results. Determine to what degree irregularities in the circular fringes of your component matter to the outcome so you can properly weigh cost and speed against tolerance precision.
Surface Finish
 During polishing processes, there’s always a risk of small irregularities occurring on the surface of the glass. Surface finish testing, or surface roughness testing, is used to measure these irregularities at the end stage of product manufacturing. Tolerances for surface-finish quality range from 50Å RMS, which represents typical quality, to 20Å RMS, which represents precision quality, and 5Å RMS, representing high quality.
This test will have varying degrees of importance depending on the eventual application of the glass product at hand. Surfaces intended for use in lasers and intense heat would demand a much higher surface finish than applications that don’t require the same level of precision or are less concerned with the inevitable wear that occurs in rougher surfaces.
Ensuring that surface finish meets the minimum necessary standard, rather than a higher bar, strikes the right balance of precision and cost-effectiveness.
Considerations for Determining Standards
To meet these specifications, manufacturers first need to test the optical glass against various reference models. Though each test tells manufacturers how to make tolerance adjustments, the tests can further increase the cost of production and the total amount of time it takes to fully produce the glass.
As a result, prioritize the following factors: 1) which specifications are the most important, 2) to what degree each specification needs to be met, and 3) how tight the tolerances for each specification should be. Consider the intended function of the optical glass and how it will be affected by certain specifications.
Optical Glass Parts at Swift Glass
Obtaining and understanding optical specifications can allow for significant cost and time savings for designers and suppliers alike. While none of these tests are required by any regulatory body, it’s critical to work with suppliers and manufacturers who uphold these standards in order to cut down on surface rejections and defects — and, therefore, reduce overall costs and lead times.
Swift Glass provides a wide range of testing services to ensure our products are of the highest possible quality and precision. Our team offers full-service precision optical glass component fabrication services for all types of high-volume projects.
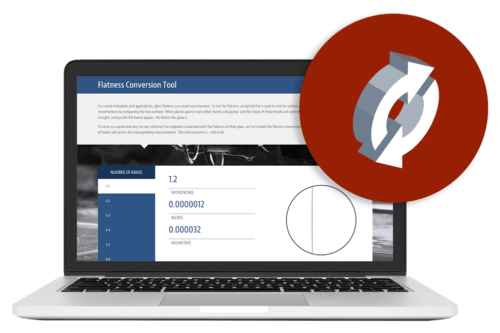
Curious to know if your optical glass is flat enough? Try out our new Glass Flatness Conversion Table to see for yourself, and consider consulting with our experts for any other glass surface needs.
At Swift Glass, we specialize in creating high-quality glass components that balance tight tolerances with cost-effectiveness. Contact our team today to determine which specifications and tolerances are the best fit for your next order. You can also request a quote for pricing details.
 >”/>
>”/>


